Kitchen cabinetry to architect spec — the 5 details flat-pack misses
Last updated: 3 October 2026
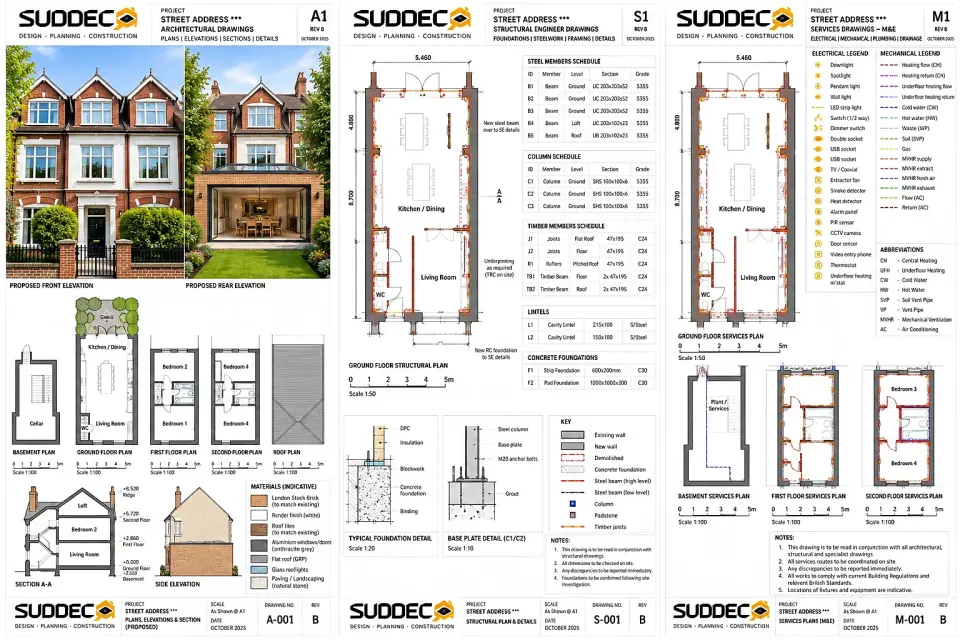
See it for your own home: put in your address and get free concept drawings and an indicative price. Get my free concept →
Two kitchens can use the same door style, the same colour and the same appliances and still look a decade apart. The difference is almost never the door. It is the carcass, the gaps, the plinth and the way the run meets the ceiling.
These five details are what "architect specification" actually means in practice. They cost relatively little to get right at the point of order and are very expensive to correct afterwards, which is why they belong in the specification rather than in a snagging list.
This guide sets out each detail, why it matters, how to check it in a quote or a showroom, and what a genuine upgrade costs. For how the cabinetry allowance sits in the wider project, see our kitchen extension cost guide.
The five details
| Detail | Flat-pack | Architect specification |
|---|---|---|
| Carcass | 15–16 mm particleboard, raw edges | 18 mm panel, jointed, all edges edged and sealed |
| Plinth | Flush with doors | 60 mm recess |
| Door and drawer gaps | Variable, 3–8 mm | Consistent 3–5 mm across the grid |
| Handle or handleless groove | Mixed across base, wall and tall | One system coordinated across every unit |
| Ceiling junction | Scribed filler piece | 5 mm shadow-gap reveal |
1. The carcass: eighteen millimetres, and jointed
The carcass is the part of the kitchen you rarely look at and always rely on. The domestic standard is an 18 mm panel, biscuit-jointed or assembled with concealed cam fixings. Both are legitimate; what is not legitimate is a 15 or 16 mm board with particleboard edges left exposed at the front of a shelf, a drawer box or the top of a base unit.
Exposed particleboard at a visible edge crumbles and swells the first time it gets wet, and it is the single clearest indicator of a budget kitchen when you open a cupboard door. Every cut edge that can be seen should be edged — a 2 mm ABS tape or a solid-timber lipping, glued rather than ironed on.
How to check it: open a base unit and a drawer in the showroom. Look at the front edge of the shelf and at the top edge of the carcass. If you can see the speckled core of the board, that is the specification you are buying, whatever the door finish suggests. Also check the drawer box itself — a thin, stapled drawer box will not survive a family kitchen.
2. The plinth: recessed by sixty millimetres
The plinth should be recessed about 60 mm from the cabinet front face. It is a small dimension with an outsized effect: the recess produces a shadow line beneath the run, gives your feet a place to stand at the counter, and hides the adjustable feet and any service void.
A plinth flush with the doors removes all of that. Even a well-made cabinetry run looks like a box sitting on the floor, and the whole elevation flattens. The same principle applies to tall units and to bathroom vanities — wherever a recessed base is replaced by a flush panel, the piece loses its architectural quality.
Two things to get right at installation. First, the recess should be consistent along the run, including where the floor is not level — the plinth is the element most often used to take up an uneven floor, and it should be scribed rather than stepped. Second, the floor finish should run under the units so the recess reads cleanly and the floor can be replaced later without disturbing the cabinetry.
3. Door and drawer gaps: consistent across the grid
Aim for a 3–5 mm gap between every door and drawer front, horizontal and vertical, across the entire kitchen. The figure matters far less than the consistency. A run with a nominal 4 mm gap that varies by a millimetre from unit to unit reads as carelessly installed; a perfectly even 5 mm reveal across a long run looks deliberate and architectural.
Achieving this is a matter of the doors being adjustable, which means concealed-fix hinges and drawer fronts that can be moved on their fixings. On a flat-pack carcass with fixed hinge plates, there is very little adjustment available, so the gaps end up being whatever the manufacturing tolerance produces.
On a long run, doors should also be sized so the gaps align with the unit module. An 800 mm base unit with a 797 mm door and a 3 mm gap on each side lands perfectly against the next unit; a door cut to suit whatever was available does not. This is a workshop decision, not an on-site one.
4. Handle or handleless, coordinated across every unit
Whichever you choose, apply it consistently to base units, wall units, tall units and any other joinery in the same project — including a bathroom vanity if it is being built at the same time. Mixing a bar handle on the base units with a knurled knob on the wall units, or a handleless groove on the tall units and handles everywhere else, is visible instantly and undoes the specification.
If you choose handles, think about the finish before the design, because the finish is what gets read: a single metal family across the kitchen, the bathroom and the internal doors. If you choose handleless, decide the mechanism — a machined J-profile in the door, an integrated rail on the carcass, or push-to-open — and confirm it applies to every unit, including the dishwasher and any pan drawers.
Handleless typically costs 10–20% more on the door and carcass, but it removes the hardware finish coordination problem entirely and produces a cleaner elevation. In a small London kitchen, where visual noise is more noticeable, that is often worth the premium.
5. The shadow-gap reveal at the ceiling line
On full-height units, leave a 5 mm gap between the top of the cabinetry and the ceiling rather than scribing a filler piece. The reveal produces a crisp dark line that runs across the whole elevation and stays consistent even where the ceiling is not perfectly level.
It is one of the clearest signals that cabinetry has been designed rather than assembled. Where a laminated or glazed unit is scribed to a wavy ceiling, the filler is always visible — the eye picks up the change in plane even when the colour matches perfectly. The shadow gap makes that junction a feature rather than a compromise.
Two conditions. The ceiling should be reasonably level across the run, so the gap stays even; if it drops significantly, overboarding and skimming the ceiling first is the honest solution. And mark the gap from the ceiling, not the carcass, checking at both ends and the middle before fixing the units.
What the upgrade costs
A genuinely architect-specified cabinetry run in a London kitchen typically costs 25–45% more than a mid-range flat-pack equivalent — commonly £4,500–£12,000 more on a typical family kitchen, depending on the run length, the door material and the internal fit-out. Most of that difference is in the carcass, the edging, the door adjustability and the workshop labour needed to make the gaps consistent.
If the budget is tight, the highest-value upgrades in order are: edge-sealed carcasses, adjustable concealed-fix hinges (which is what makes consistent gaps possible), the 60 mm plinth recess, then the shadow gap. Handleless is a preference, not a quality marker. Our kitchen team builds to this specification and prices each of these details as a visible line item, and our joinery team applies the same standards to wardrobes and vanities. We work across Wandsworth and the rest of Greater London.
Frequently asked questions
What board thickness should kitchen cabinets be?
18 mm is the domestic standard for carcasses, doors and drawer boxes. What matters as much as thickness is the visible edge: a raw particleboard edge left exposed at the front of a shelf will crumble and swell. Edge and seal every cut edge that can be seen.
How big should the gaps be between kitchen doors?
A consistent 3–5 mm across the whole grid, horizontally and vertically. Consistency matters more than the figure — a run that varies by a millimetre reads as carelessly installed.
Why should the plinth be recessed?
A 60 mm recess creates a shadow line, gives your feet room at the counter and makes the run appear to stand on the floor. A flush plinth flattens the elevation and makes good cabinetry read as flat-pack.
What is a shadow gap on tall kitchen units?
A 5 mm gap between the top of the unit and the ceiling instead of a scribed filler. It gives a crisp dark reveal that stays consistent even where the ceiling is not level.
Do handleless kitchens cost more?
Usually 10–20% more on the door and carcass, because of the machined profile or integrated rail. The trade-off is a cleaner elevation and no hardware finish to coordinate.
Related reading
- Kitchen extension cost: the complete 2026 guide
- Kitchen extension cost per square metre
- House renovation cost per square metre
- Kitchen design and installation
- Fitted joinery and bespoke cabinetry
See the specification, not just the door
We render your kitchen at architect specification and show the carcass, gaps and plinth details as priced line items.
Get your free concept →