Skirting and architrave that won't betray a 2026 refurb — 4 rules
Last updated: 3 October 2026
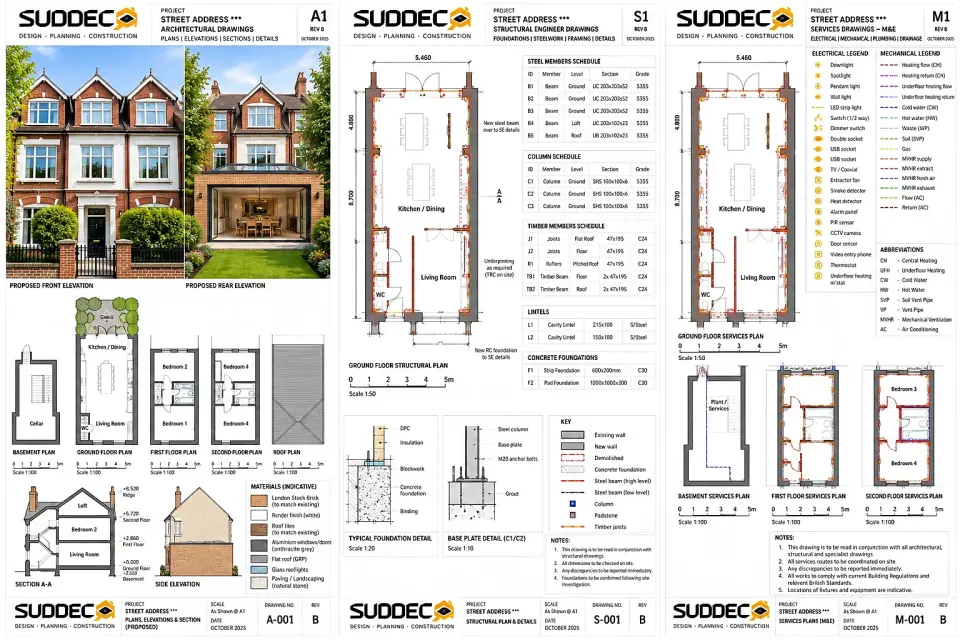
See it for your own home: put in your address and get free concept drawings and an indicative price. Get my free concept →
Skirting and architrave are the cheapest visual upgrade in a refurbishment and the most common place a good project gives itself away. They run at eye level across every room, they frame every doorway, and when they are wrong, everything else in the room has to work harder.
Most London properties have original trim worth keeping, or a clear period idiom worth matching. The mistakes come from treating trim as a commodity bought by the metre rather than as the detail that sets the proportions of a room.
These are the four rules we work to, plus the pipe-boxing detail that most refurbishments forget. For how the decorating package sits in a whole-house budget, see our renovation cost per square metre guide.
The four rules
| Rule | Do | Never |
|---|---|---|
| 1. Profile family | Same range for skirting and architrave | Chamfered skirting with ovolo architrave |
| 2. Corners | Mitre external corners, cope or mitre internals | Butt joints anywhere visible |
| 3. Height | 100–150 mm modern, up to 230 mm period | Anything under 75 mm |
| 4. Paint finish | Eggshell or satin on trim, matt on walls | High-gloss varnish, or matt trim |
1. Match the profile family
Skirting profiles come in families: chamfered (a single flat bevel at the top), ovolo (a convex curve), torus (a half-round bulge), pencil-round and various period mouldings. They are designed as a set with a matching architrave, and mixing families within one room is immediately visible.
The most common error is a chamfered skirting with an ovolo architrave, because both were in stock at the builders' merchant on different days. The profiles are close enough to look like they should match and different enough that they do not, which is exactly what makes it read badly.
The second error is ordering a deep skirting for the main rooms and a shallower one for the hall to save money. Trim should change only where the property genuinely changes — a modern extension can carry a different, plainer profile from the original house — and never room to room within the original fabric.
Where original trim survives in a period London property, match the profile rather than replacing it. A specialist can cut a knife to match an existing moulding, and it is usually cheaper than replacing every run in the room to make a modern profile consistent.
2. Mitre the corners
An internal corner can be mitred or coped. Coped joints — where one piece is cut to the profile of the other — are more tolerant of a wall that is not square and are traditional in older properties. Mitred internal corners look cleaner but open up if the walls move.
External corners should always be mitred, glued and pinned. A butt joint at an external corner exposes end grain on the face of the skirting, and end grain takes paint differently from the face, so the joint remains visible no matter how many coats go on. It is the single fastest way to make a room look like a budget fit-out.
Whatever joint is used, fill and sand it before decorating and prime the end grain first. A coat of primer on the cut ends stops the joint from showing through the finish.
3. Get the height band right
Skirting height is a proportion question against the ceiling. In a period London property, 150–230 mm suits Victorian and Edwardian rooms with high ceilings; 100–125 mm suits 1930s homes. For a modern refurbishment in a standard 2.4 m room, 100–150 mm is the safe band.
Under 75 mm, skirting stops reading as a base and starts reading as a strip, and the room immediately looks cheap regardless of how much was spent on the floor. That mistake usually comes from matching whatever was there before — often a thin modern board fitted during an earlier, cheaper refurbishment.
Taller skirting needs a deeper wall to sit against: a 200 mm skirting on a stud wall is fine, but it should not cross in front of a socket outlet or a radiator valve. Set the socket heights against the skirting height — typically 450 mm to the centre of a socket for accessibility, which leaves clearance over a 150 mm board.
4. Paint the trim differently from the walls
Use an eggshell or satin finish on the trim and a matt emulsion on the walls. This is not only about durability. Trim catches a little light along the curve of its profile, and a finish with a slight sheen makes that profile visible — it is what turns a moulding into a detail rather than a painted line.
Fully matt trim, by contrast, absorbs the shadow line and the skirting disappears into the wall, which is exactly what you do not want after paying for a decent profile. High-gloss varnish on the other hand makes every imperfection visible and dates a room instantly.
Keep the trim colour consistent across the property, including the hall, the stairs and the landing. Where a room is a deliberate contrast — a dark study, for example — the trim can follow the room, but the family should stay the same and the change should be a decision rather than an accident.
5. The detail most refurbs forget: pipe boxing
Boxing in exposed services is where a refurbishment either holds together or falls apart. Central heating pipes, waste runs and extract ducting frequently need to cross a wall at skirting level, and the way that box is formed decides whether the room still reads as considered.
Box the services with a profile that matches the skirting family, or with a simple square box finished in the same trim colour, and align the top of the boxing with the top of the skirting where possible. Plan the route on the drawing so it does not create awkward angles around a door architrave, and avoid a boxing that stops abruptly in the middle of a wall.
Where a pipe run can be hidden within the floor or a wall, that is always better than boxing it — but where it cannot, a well-formed boxing finished in the trim colour is invisible in the way that a bare pipe never is. Our plastering and decorating team forms and finishes boxing as part of the decoration package, and we coordinate it with the first fix so the routes are agreed before the walls close.
Trim is quoted by the linear metre and fitted on site, so it is easy to treat as an afterthought. It should be specified at the same time as the doors, architraves and ironmongery, because all four are read together in every elevation. Our design and build team sets the trim specification alongside the joinery, and we work across Haringey and the rest of Greater London.
Frequently asked questions
How high should skirting be?
150–230 mm for Victorian and Edwardian rooms, 100–125 mm for 1930s homes, and 100–150 mm for a modern refurbishment. Under 75 mm reads as cheap whatever the age of the property.
Should skirting and architrave match?
Yes — from the same profile family, even if the widths differ. A chamfered skirting with an ovolo architrave in the same room is the classic sign of a mixed-specification job.
Why do skirting corners need mitring?
A butt joint leaves end grain on the face of the skirting, and end grain takes paint differently, so the joint stays visible. Internal corners can be coped or mitred; external corners should always be mitred, glued and pinned.
What paint finish should I use on skirting?
Eggshell or satin on trim, matt emulsion on walls. The slight sheen on the trim makes the profile catch light and read as a detail; matt trim absorbs the shadow line and the moulding disappears.
How do I hide pipes that run along a wall?
Box them in with a profile that matches the skirting family, finished in the same trim colour, and align the top of the boxing with the skirting where possible. Plan the route on the drawing before first fix.
Related reading
- House renovation cost per square metre
- Kitchen extension cost: the complete 2026 guide
- Plastering and decorating
- Design and build service
- Projects across Haringey
See your trim specification on the render
We apply the skirting, architrave and door profiles to your actual rooms and price them as line items in the scope.
Get your free concept →